
How to make a product demo video on Windows or Mac
Updated 30 September 2026
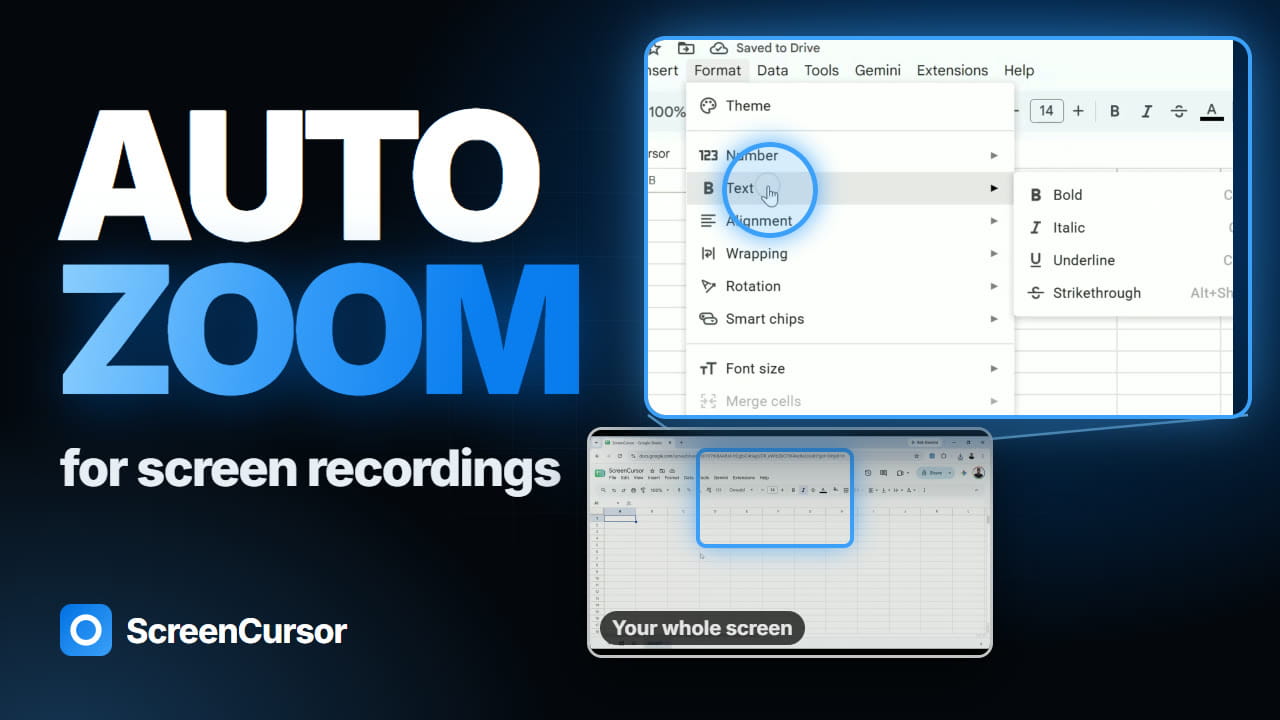
Short answer. Decide the one thing the video has to show and write down the clicks that show it. Close everything else, hide your bookmarks and turn on Do Not Disturb. Record the clicks in one take, keeping the mouse still for a moment after each one. Then zoom in on every click, cut the fumbles, speed up anything the viewer would only wait through, and export a 1080p MP4. For a 60-second homepage demo, five to eight clicks is plenty. ScreenCursor places those zooms for you while you record, in Chrome on Windows or a Mac, for $49 once.
 Watch on YouTube (2:23)
1. Decide what the video is for
A demo video has one job: show one thing your product does, from the problem to the result. Where the video will be watched decides almost everything else about it.
| Where it goes | Length | Sound | Shape |
|---|---|---|---|
| Homepage or landing page | 30 to 90 seconds | Optional: browsers start it muted | 16:9 |
| Product Hunt or a launch post | 1 to 2 minutes | Voice or music | 16:9 |
| LinkedIn or X post | 20 to 60 seconds | Optional: the feed starts it muted | 1:1 or 4:5 |
| Reels, Shorts or TikTok | Under 60 seconds | Voice | 9:16 |
| Help center tutorial | 1 to 5 minutes per task | Voice | 16:9 |
| Sales follow-up | 2 to 5 minutes | Voice | 16:9 |
These are the lengths we work to, not figures from a study. When a video needs longer, it is usually two videos.
2. Write the clicks down, then what you will say
You do not need a full script. Write each click on its own line, and next to it the one sentence you will say while you make it. Here is one for a made-up invoicing app:
| Click | What you say |
|---|---|
| Clients, then New client | “Add a client once.” |
| Type “Northwind Traders” and save | “Their details fill in every invoice from now on.” |
| Invoices, then New invoice, then Northwind | “Start an invoice and pick the client.” |
| Add a line: design work, 10 hours at $80 | “Add what you did. The total works itself out.” |
| Send | “Send it. They get a link and can pay by card.” |
| The sent invoice, held for two seconds | “And you can see when it has been paid.” |
- Start where the viewer’s problem starts, not on the login page. End on the result, and hold it for two seconds so it sinks in.
- Five to eight clicks fill a 60-second video. If your list is longer, you are making a tutorial rather than a demo. That is fine: give it the tutorial length from the table above.
- Do one run-through without recording. It shows you which pages load slowly and which buttons take a second to find.
3. Set up your screen
Anything on the screen ends up in the video. Five minutes here saves a second take.
- Use a demo account with believable data: real-looking names and numbers, not “test test”, and never a real customer’s details.
- Close the other tabs and hide the bookmarks bar with Ctrl+Shift+B on Windows or Cmd+Shift+B on a Mac.
- Make the page text bigger. Press Ctrl and + on Windows, or Cmd and + on a Mac, once or twice, to 110 or 125%. Zooms take care of the details, but the wide shots still have to be readable on a phone.
- Turn off notifications. On Windows 11: Settings, System, Notifications, Do not disturb. On a Mac: Control Center, Focus, Do Not Disturb. Quit Slack and your email app, or pause them.
- Look for private details: your email address in a corner, other customers’ names in a list, an API key on a settings page.
On a Mac, one extra step the first time
macOS asks before any app records the screen. The first time you share your screen from Chrome, allow Chrome under System Settings, Privacy & Security, Screen Recording (called Screen & System Audio Recording on newer versions of macOS), then quit and reopen Chrome. Windows does not ask.
4. Record it in one take
With ScreenCursor, recording goes like this:
- Click the ScreenCursor icon in Chrome’s toolbar. If you cannot see it, click the puzzle-piece icon and pin ScreenCursor.
- Turn on Microphone if you will talk. Turn on System audio if the product makes sounds you want in the video.
- Click Choose screen…, pick a window or your entire screen, and click Share.
- The first time, Chrome asks about your microphone. Choose Allow while visiting the site and it will not ask again.
- Chrome shows a “sharing your screen” bar. Recording waits three seconds so you can click Hide on it.
- Go through your list of clicks.
- To stop, click the ScreenCursor icon again. The editor opens with a zoom already placed on every click, drag and keystroke you made in a web page.
While you record
- Point, then keep still. Move straight to the next button, click, and leave the mouse where it is for a second. Circling the cursor while you talk makes a video hard to follow, and the pause gives each zoom time to settle.
- Fumbled a step? Keep going. Pause, go back, and do it again. You will cut the bad attempt out in the editor, and the zooms move with the cut.
- Use a headset or a USB microphone a hand’s width from your mouth rather than the laptop’s own. Record ten seconds and play them back before the real take. If the microphone was muted or silent the whole time, the editor tells you as soon as it opens.
- Web pages zoom by themselves, desktop apps do not. ScreenCursor sees clicks and typing inside web pages in Chrome. If your demo is in a desktop app, you add the zooms in the next step.
- Export before your next take. ScreenCursor keeps only your latest recording, so a new take replaces the last one.
5. Edit the zooms, the cuts and the frame
Check every zoom
Play it through once. Select a zoom you do not want and press Delete. Press Z to add one where the playhead is. You can retime any zoom on the timeline or make it deeper or shallower, and choose Snappy or Gentle for how quickly the camera moves.
To aim a zoom at an exact spot, right-click it and choose Zoom focus point, then drag the box over what the viewer should see. This is also how you zoom into a desktop app.
Cut the waiting
Press S to split the clip at the playhead, then delete the piece you do not want: the fumbled step, the pause while you remembered what came next. For waits the viewer needs to see but not sit through, like a report loading or a file uploading, speed that clip up instead of cutting it.
Frame it for where it is going
Put the recording on a wallpaper, a gradient, a solid colour or your own image, round the corners, and add a browser frame showing the page’s real title. Pick the shape from the table in step 1: 16:9, 1:1, 4:5 or 9:16. Click rings are on by default, so viewers can see what you pressed.
What ScreenCursor does not add
Captions, text on screen, music and a webcam. If you need captions, YouTube can make them from your voice. Music and text can go on in any video editor after export.
6. Export it and put it where people will see it
Export a 1080p MP4. Choose 60 fps if you recorded at 60 and the video scrolls a lot, because scrolling is where a low frame rate shows. Otherwise 30 fps looks the same and gives a smaller file. The video saves to your computer, with no watermark.
- Homepage: a short version near the top that plays muted and loops. Host it with a video service rather than as a large file on your own server. This site uses Mux.
- Product Hunt: upload the video to YouTube and add the link to your launch gallery.
- Help center: put each tutorial next to the written steps it shows.
- Sales email: email apps do not play video. Send an image of the first frame that links to the video.
- YouTube: turn your list of clicks into chapters by adding timestamps to the description, and check the automatic captions.
Which tool to use on Windows or Mac
Any screen recorder can do steps 1 to 4. The difference is step 5: whether the zooms are placed for you, or you place each one by hand in a video editor.
| Tool | Windows | Mac | Auto zoom | Price |
|---|---|---|---|---|
| ScreenCursorours | Yes | Yes | Yes | $49 once |
| Screen Studio | No | Yes | Yes | $9 to $20 / month |
| ScreenSmooth | Yes | Yes | Yes | $79 once |
| FocuSee | Yes | Yes | Yes | From $59.99 / year |
| Tella | Yes | Yes | Yes | From $13 / month |
| Cap | Yes | Yes | Yes | Free, or $58 once for work |
| OBS Studio | Yes | Yes | No | Free |
Prices for Screen Studio, ScreenSmooth, FocuSee and OBS Studio were checked on 5 September 2026, and for Tella and Cap on 26 September 2026, each on the vendor’s own site. Tella’s $13 is billed yearly, and Tella and Cap charge paid plans per person. ScreenCursor and ScreenSmooth run in Chrome. ScreenCursor is our own product.
- On a Mac, Screen Studio is the most polished of these, if a monthly subscription is fine with you.
- On Windows, Screen Studio is not available. ScreenCursor, ScreenSmooth, FocuSee, Tella and Cap all zoom in automatically.
- For free, OBS Studio records anything, and you add each zoom by hand in a free editor such as DaVinci Resolve. Cap’s automatic zooms are free for personal use.
We compare these tools in more detail on our Screen Studio alternatives and Loom alternatives pages.
Common questions
- How long should a product demo video be?
- 30 to 90 seconds for a homepage or landing page, 1 to 2 minutes for a launch post such as Product Hunt, and 1 to 5 minutes per task for a help center tutorial. Five to eight clicks fill a 60-second demo. If a video needs more than that, split it into one video per task.
- What is the best software for making a product demo video on Windows?
- Screen Studio, the best-known tool for this, runs on macOS only. On Windows, the tools that zoom in on your clicks automatically include ScreenCursor ($49 once, runs in Chrome), ScreenSmooth ($79 once, runs in Chrome), FocuSee (from $59.99 a year), Tella (from $13 a month billed yearly, with share links) and Cap (free for personal use, $58 once for work). OBS Studio is free but has no automatic zoom. Prices were checked on each vendor’s own site in September 2026.
- Can I make a product demo video on a Mac without Screen Studio?
- Yes. A Mac can record its screen on its own with Cmd+Shift+5, but that recording has no zoom. For automatic zoom on a Mac, the options besides Screen Studio include ScreenCursor, ScreenSmooth, FocuSee, Tella and Cap.
- How can I make a product demo video for free?
- Record with OBS Studio or the recorder built into your computer (Cmd+Shift+5 on a Mac, the Snipping Tool’s record option on Windows 11), then add the zooms by hand in a free editor such as DaVinci Resolve. Cap places zooms automatically and is free for personal use. The free route costs time instead: placing zooms by hand usually takes longer than the recording itself.
- Should a product demo video have a voiceover?
- For tutorials, sales follow-ups and launch videos, yes: a voice explains why each click matters. For a homepage video, it is optional. Browsers usually only autoplay video with the sound off, and LinkedIn and X start videos muted in the feed, so those videos have to make sense without sound.
- What resolution and format should a demo video be?
- A 1080p (1920 × 1080) MP4 with H.264 video plays almost everywhere. Use 60 frames per second if the video scrolls a lot, and 30 otherwise, which also gives a smaller file. Use 720p when the file has to be small, for example as an email attachment.
- How do I zoom in on clicks in a screen recording?
- Either automatically or by hand. ScreenCursor, Screen Studio, ScreenSmooth, FocuSee, Tella and Cap place a zoom on each click while you record, and you change only the ones you want different. In an ordinary video editor you add each zoom yourself: scale up just before the click, hold while it matters, then scale back out.
- Does ScreenCursor upload my recording?
- No. Recording, zoom calculation, editing and export all happen inside Chrome on your own computer. No video or audio is sent anywhere, and there is no account. The only network request the extension makes is to check your license key with Polar, at most once a fortnight.
ScreenCursor is $49 once, going to $79. It zooms in on every click while you record, lets you change any zoom afterwards, and never uploads your screen. Windows, macOS and Linux, three computers, no watermark, no subscription. See what you get.
If a step here no longer matches what you see in ScreenCursor, tell us at support@screencursor.com and we will fix the page. Screen Studio, ScreenSmooth, FocuSee, Tella, Cap and OBS Studio are the property of their respective owners and are named here for comparison.